How to Build Creative Skills: A Complete Guide to Design and Making
Building creative skills is less about waiting for inspiration and more about learning to observe, experiment, and refine. This beginner-friendly guide shows how to build creative skills through design and making by combining physical practice with digital tools. You will learn a clear process, useful exercises, and ways to judge your work without harsh self-criticism.
What creative skills really include
Creativity is not a single talent. It is a set of abilities that work together: noticing details, generating ideas, choosing among options, making with materials, using software, and improving work through feedback. A strong practice connects these abilities instead of treating drawing, craft, and digital design as separate paths.
At the center is visual thinking: the habit of turning an idea into something you can see and test. A rough sketch, a paper model, or a screen layout gives your thinking a body. Once an idea exists outside your head, you can examine it, compare it with alternatives, and improve it.
Start with a simple creative process
Use the same lightweight process for most projects. It creates structure without removing freedom.
- Observe: collect examples, ask questions, and describe what you notice before deciding what to make.
- Define: write one clear goal and one audience or user need.
- Generate: produce several rough options without polishing any single idea.
- Make: build the smallest version that can communicate or function.
- Review: compare the result with your goal, gather feedback, and decide what to change.
Keep the process visible. A notebook, a folder of sketches, or a simple project board can show what you tried, what failed, and what you learned. This record becomes a personal reference for future work.
Build observation before technique
Strong work begins with careful attention. Spend a few minutes each day studying an ordinary object: a chair, a tool, a package, or a plant. Record its shape, proportions, texture, and the way light changes its surface. Draw only what you see, not what you assume is there.
Useful observation exercises
- Draw an object upside down to reduce mental shortcuts.
- Make three contour drawings in five minutes, focusing on edges rather than shading.
- Photograph the same subject at different times of day and compare contrast, color, and mood.
- Write a short description of a space using only measurable details: dimensions, materials, sounds, and movement.
These exercises train perception, which supports every later skill, from illustration to interface design.
Learn making with your hands
Physical materials reveal constraints quickly. Paper folds, glue sets, fabric stretches, and wood resists. Working by hand teaches you how structure, weight, balance, and finish affect an outcome.
Begin with low-cost materials
Paper, cardboard, tape, scissors, a ruler, and a pencil are enough for many projects. Build a simple container, a stand for a phone, or a model of a room. Focus on proportion and function before decoration. Ask whether the object holds together, supports its intended use, and communicates its purpose at a glance.
After each build, note one decision that worked and one you would change. This turns making into learning rather than a test of talent.
Move ideas into digital design
Digital tools extend physical practice. They make it easy to duplicate, resize, recolor, compare versions, and share work. Choose one tool for your first project and learn its core actions: create a document, place shapes or images, edit paths or pixels, organize layers, and export a usable file.
Start with a small brief. Design a one-page poster, a simple icon set, or a three-screen mobile layout. Work from a clear hierarchy: decide what should be seen first, second, and third. Use consistent spacing, readable type, and a limited color palette. The goal is not to master every feature; it is to translate a decision from your mind into a precise visual system.
Connect physical and digital steps
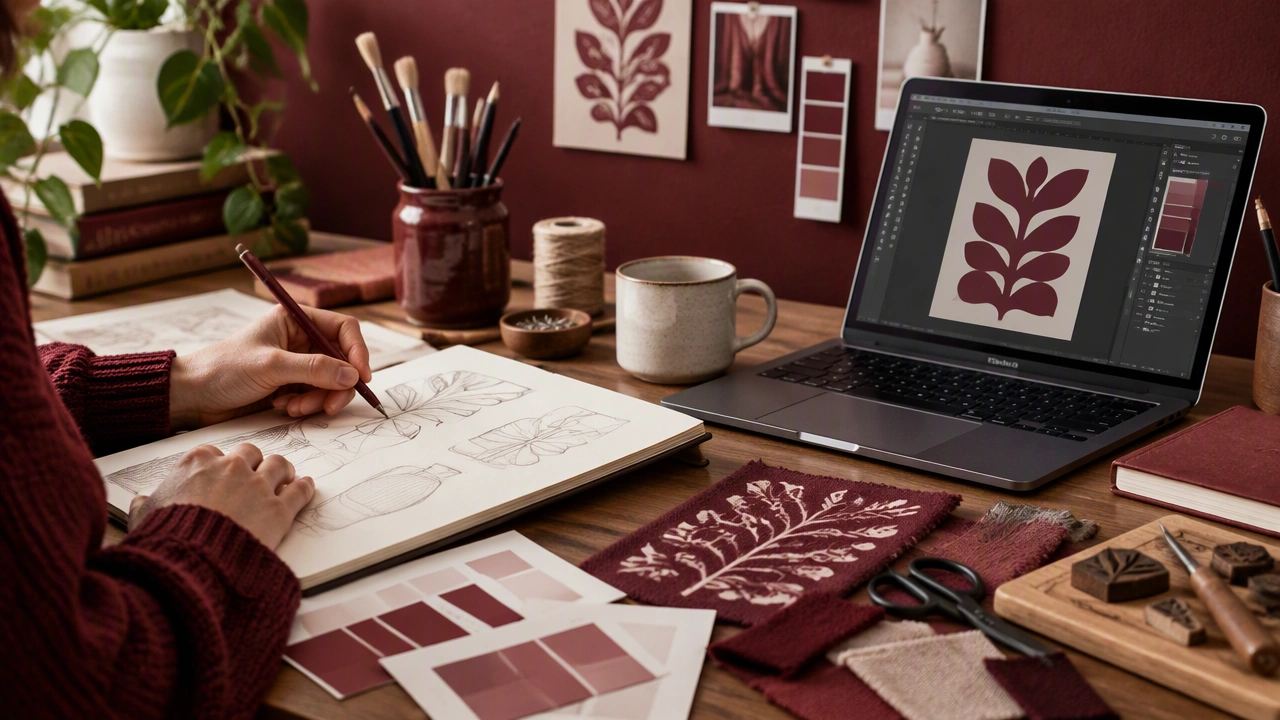
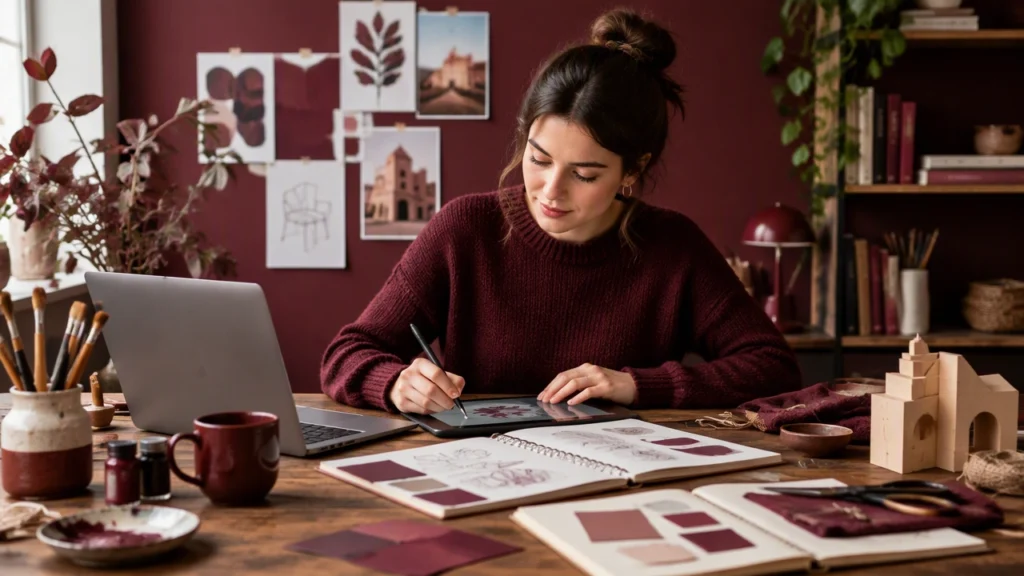
A productive loop might look like this: sketch three thumbnails on paper, photograph the strongest one, rebuild it in software, print or test it, then return to the screen with corrections. The loop keeps your work grounded in real use while taking advantage of digital accuracy.
Practice the fundamentals deliberately
Foundations give creative work clarity. Give each one a small, regular exercise.
- Composition: arrange three elements on a page and test how position changes emphasis.
- Shape and form: draw objects using simple geometric masses before adding detail.
- Type: set the same paragraph with two typefaces and compare readability and tone.
- Color: create a palette with one dominant color, one supporting color, and one accent.
- Material: test how surface, thickness, and finish change the feeling of an object.
Keep exercises short and specific. A focused twenty-minute session repeated several times usually teaches more than an occasional long session with no clear target.
Use feedback as a design tool
Feedback works best when it is tied to the goal. Ask viewers what they notice first, what they think the work is for, and where they hesitate. Listen for patterns rather than trying to please every comment. Separate observations from preferences: “I did not know where to start” is different from “I would choose another color.”
Revise with intent. Choose one or two changes, apply them, and compare the result with the earlier version. This builds judgment, which is one of the most valuable creative skills.
Create a sustainable learning routine
Set a realistic rhythm you can maintain. For example, practice observation three times a week, complete one small making project each week, and finish one digital exercise every two weeks. Keep a simple log with the date, goal, result, and next step.
Build a reference library of work you admire. Save examples with a short note explaining what makes them effective: spacing, contrast, structure, material choice, or storytelling. Analyzing examples helps you see decisions, not just outcomes.
Measure progress without comparison traps
Compare your current work with your earlier work, not with professionals at a different stage. Look for concrete gains: cleaner lines, clearer hierarchy, fewer unnecessary elements, more confident material choices, or faster problem solving. Progress often appears as better questions rather than perfect results.
When motivation drops, reduce the size of the task. Make one sketch, refine one screen, or test one material join. Small completed actions restore momentum and keep the connection between design and making alive.
A practical first month
Week one: observe and draw daily. Week two: build a cardboard object from a simple function. Week three: recreate one of your sketches in a digital tool. Week four: combine both into a small project, such as a printed card with a matching digital version. At the end of the month, review your notes and choose one skill to deepen.
By following this path, you learn how to build creative skills through design and making in a way that is practical, repeatable, and calm. Creativity grows when ideas are tested in both the hand and the screen, then improved through attention and care.