How to Light and Photograph Handmade Objects at Home for a Clean, Professional Portfolio
Handmade objects carry texture, weight, and small imperfections that make them compelling in person but difficult to capture on camera. A cluttered background, harsh shadow, or inaccurate color can distract from the work itself and make even a strong piece look unfinished. Learning how to photograph handmade work for portfolio at home is less about owning expensive equipment and more about controlling light, background, and consistency. With a simple setup near a window and a repeatable workflow, you can create clean, professional images that let your materials and craftsmanship speak clearly. Strong photography is one of the most practical creative skills for makers who want their portfolio to feel as considered as the objects themselves.
Why Clean Photography Matters for Your Portfolio
A portfolio is not just a gallery of finished objects. It is an argument for your process, your attention to detail, and your ability to present work professionally. When images are inconsistent in lighting, cropping, or color, viewers focus on the photography instead of the object. Clean photography removes that friction. It keeps the focus on form, surface, and scale, and it helps curators, clients, or employers compare pieces without distraction. Consistency also signals care. If you can light and present a ceramic mug, a textile sample, or a wooden stool with the same clarity, you show that you understand visual communication as part of the making process.
Set Up Simple, Controlled Light at Home
You do not need a studio to get soft, even light. You need one large, indirect light source and a way to soften and bounce it. For most homes, that source is a window.
Use Natural Window Light First
Choose a large window that receives bright, indirect daylight, ideally north-facing or shaded from direct sun. Direct sunlight creates hard shadows and blown-out highlights that hide texture. Place a table or board perpendicular to the window so light falls across the object from the side, not from the front or behind. Side light reveals texture in clay, wood grain, paper, and fiber far better than flat front light. Shoot during the middle of the day when light is most neutral, and turn off overhead room lights to avoid mixed color temperatures that make white balance difficult.
Add Simple Diffusion and Fill
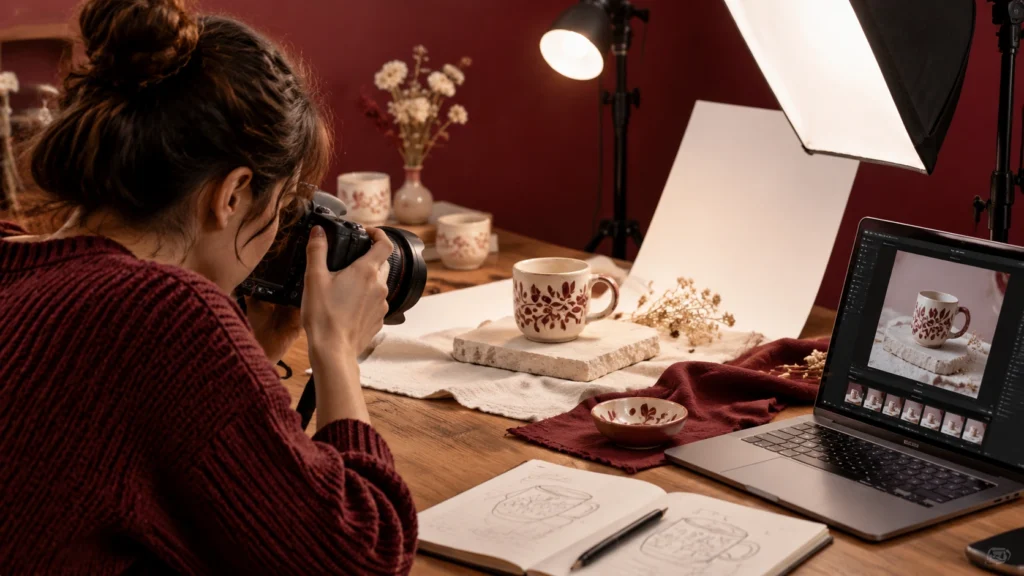
If the light is still too harsh or one side of the object falls into deep shadow, add two inexpensive modifiers. First, diffuse the window with a thin white curtain, tracing paper, or a frosted shower curtain taped to the glass. This enlarges the light source and softens the transition from highlight to shadow. Second, place a white reflector on the shadow side of the object. A large piece of white foam board, poster board, or even a white wall works well. Move it closer to lighten shadows or farther away to keep more contrast and depth. Avoid using a mirror or metallic reflector at first, as it can create a second hard light source. This two-part setup of diffused key light plus white fill gives you control without any flash or continuous artificial lights.
Build a Clean, Consistent Background
A professional portfolio background should be quiet, matte, and repeatable. Seamless paper, untextured linen, or a large sheet of matte board in white, light grey, or warm natural tones works well for most handmade work. Avoid glossy paper, busy wood tables, or patterned textiles that compete with the object. To create a seamless look, curve the paper or fabric from the table surface up against a wall or board to form an infinity sweep with no visible horizon line. Secure it with tape and ensure it is clean and crease-free. Keep the object at least 20 to 30 centimeters away from the background to avoid harsh shadows on the sweep and to allow for a soft, natural falloff. If you photograph many pieces, mark the table position for the object and background with small pieces of tape so every shot is framed consistently.
Style and Compose for Clarity
Styling should support the object, not decorate it. The goal is to communicate material, scale, and use without clutter.
Keep Styling Minimal
Start with the object alone on the background, centered and fully visible. Add only props that explain scale or function, such as a hand holding a mug, a book next to a print, or raw material beside a finished piece. Choose props in muted, matte tones and keep them lower or smaller than the main object. Remove anything shiny, branded, or highly textured. Dust the object, steam textiles, and check for fingerprints, loose threads, or chipped edges before shooting, because the camera will magnify every detail.
Compose for Portfolio Consistency
Decide on two or three standard compositions and use them for every piece. For example, use a straight-on front view, a 45-degree angle that shows depth, and a detail close-up of texture or joinery. Keep the camera at the same height as the center of the object for the front view to avoid distortion, and maintain generous negative space around the object so images can be cropped uniformly for a website or PDF. Leave the same amount of space on all sides and align objects to the same baseline in the frame. This consistency makes a grid of images feel calm and intentional when viewed together.
Camera Settings and Sharpness Without Expensive Gear
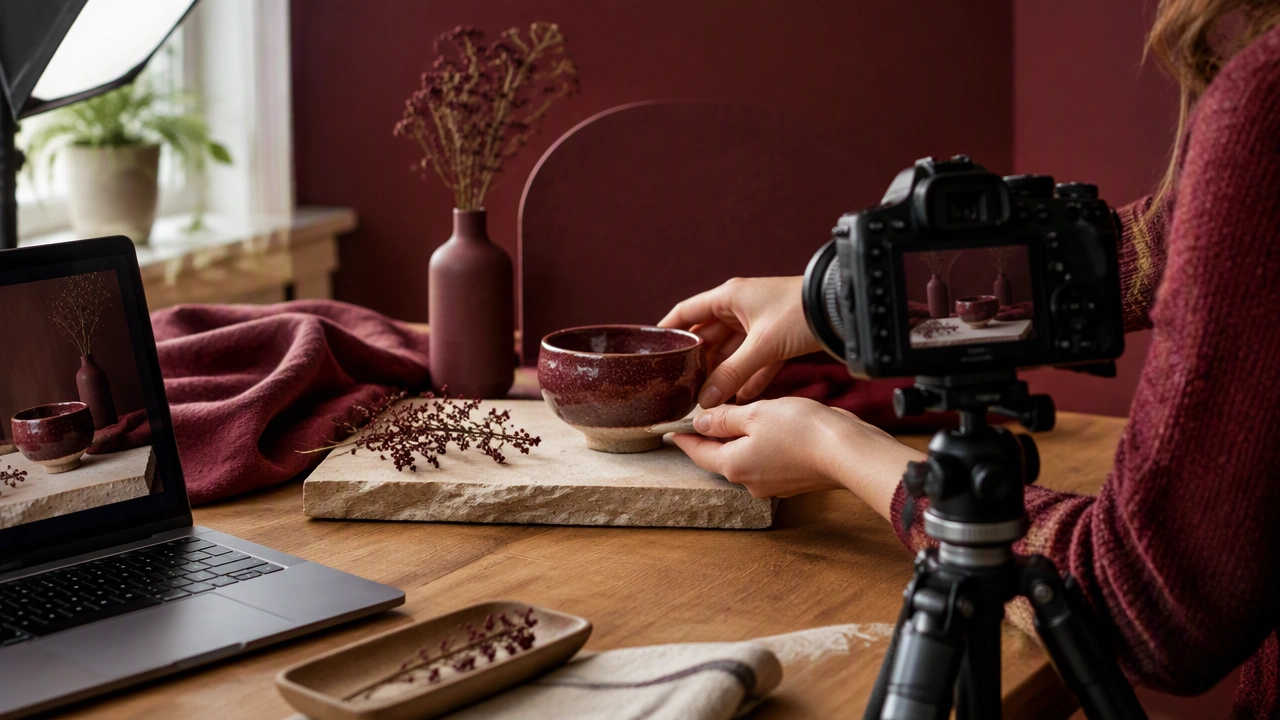
You can get sharp, color-accurate results with a smartphone or an entry-level camera if you stabilize it and control exposure. Use a tripod, stack of books, or phone mount to eliminate camera shake. Set a two-second timer or use a remote shutter so pressing the button does not cause blur.
- Use the lowest ISO possible to reduce grain and preserve detail in textures. In daylight near a window, ISO 100 to 400 is usually sufficient.
- Choose a mid-range aperture for depth of field. On a camera, f/8 to f/11 keeps the whole object sharp without softness from diffraction. On a phone, avoid portrait mode for portfolio work, as artificial blur can cut off edges.
- Expose for the highlights and brighten slightly in editing if needed. It is easier to recover a slightly dark image than to fix blown-out whites on ceramics or paper.
- Set white balance manually. Place a white card in the scene, set custom white balance, or shoot in a way that allows you to correct it later. This is critical for accurate glaze, dye, and wood tones.
- Focus carefully on the most important detail, such as the rim of a bowl, the weave of a textile, or the edge of a print, and check sharpness at 100 percent magnification before moving on.
If you are using a phone, tap to lock focus and exposure on the object, then lower exposure slightly with the slider to protect highlights. Shooting in the highest quality setting or RAW mode, if available, gives you more flexibility in editing.
Edit Lightly for a Professional Finish
Editing should correct, not transform. Aim for accurate color and clean light rather than a filtered look. Start by adjusting white balance so whites appear neutral and materials look true to life. Then adjust exposure and contrast gently to ensure the background is clean but not harshly clipped, and shadows retain detail. Increase clarity or texture slightly to emphasize surface, but avoid over-sharpening, which creates halos. Crop all images to the same aspect ratio, such as 4:5 or 1:1, and align them so the portfolio feels cohesive. Export at high resolution for print and at a compressed, sRGB version for web, keeping file names consistent and descriptive. Keep edits subtle and consistent across the whole series so no single image stands out because of heavier processing.
Create a Repeatable Home Studio Workflow
Professional results come from repetition. Once you find a window, background, and reflector position that works, document it. Note the time of day, distance from window to object, camera height, and settings. Photograph all work for a single portfolio update in one session to keep light and color consistent. Clean the background between pieces, handle objects with gloves if needed, and review images on a larger screen before packing work away. A simple checklist of setup, shoot, and edit steps turns a corner of a room into a reliable studio and allows you to add new work over months without visible shifts in style. With this workflow, your photographs will support rather than compete with the objects you have made.