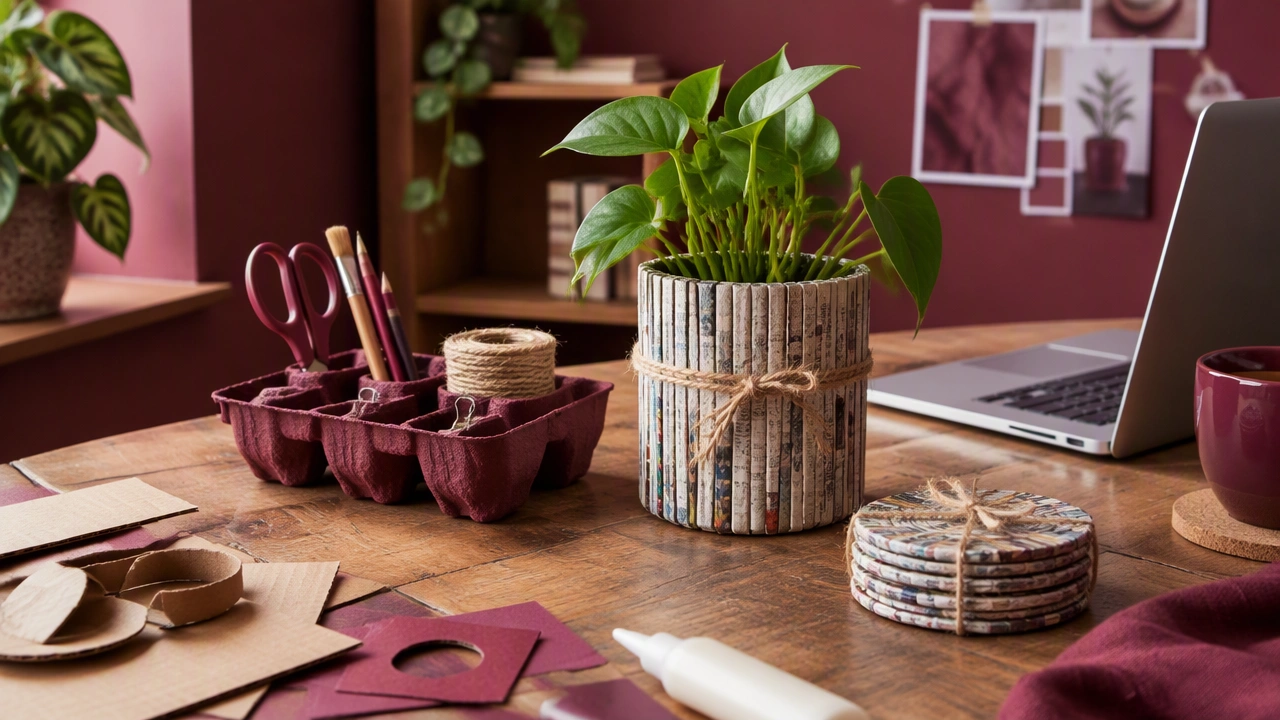
Sustainable Making With Recycled Materials: Creative Reuse at Home

Good making rarely begins with a shopping trip. It begins with attention: the box that arrived yesterday, the offcut left after a hem, the jar lid that rolled to the back of a drawer. Creative skills grow when we learn to read these materials for their structure, texture, and potential rather than seeing them only as waste. This guide gathers practical, sustainable craft ideas using recycled materials at home, with methods that are inexpensive, adaptable, and designed to produce objects you will actually use.
Start With a Material Audit
Before collecting supplies, spend ten minutes sorting what you already have. Separate materials by physical behavior rather than by origin. Cardboard is stiff, foldable, and good for structure. Fabric is flexible, tear-resistant, and suited to surfaces, ties, and soft forms. Paper can be layered, molded, or cut. Rigid plastics, metal lids, wood offcuts, and natural finds each offer different strengths.
Set aside items that are clean, dry, and free of grease or residue. Food-soiled paper cannot be recycled in most systems, but it may still be usable for temporary studio tasks such as protecting a work surface. Keep a small box for fasteners, string, buttons, and other components that can be sorted later. A simple inventory prevents duplicate projects and helps you choose materials before they become clutter.
Useful Sorting Categories
- Structure: corrugated cardboard, cereal boxes, tube cores, wood offcuts, plastic trays
- Surface: fabric scraps, paper labels, maps, magazine pages, foil, bottle caps
- Connection: string, ribbon, wire, buttons, paper clips, rubber bands
- Texture: cork, leaves, bark, twine, mesh, textured packaging
Work With Cardboard as a Building Material
Cardboard is most convincing when treated like a lightweight sheet material. Corrugated board has an internal flute direction; it folds cleanly across the flutes and resists bending along them. Score the top liner with a blunt edge before folding to avoid crushing the surface. For stronger corners, join two panels with a paper hinge and reinforce the inner face with a strip of kraft paper.
Begin with a project that has clear dimensions. A desk organizer can be built from a single box by cutting side panels, a back panel, and two dividers. Assemble the pieces with paper tabs rather than relying only on tape on the outside. Once the form is stable, cover it with fabric or decorative paper to improve durability and appearance.
Cardboard also works well as a printing plate. Press patterns into the surface with a pencil, then apply paint with a roller or brush. The raised and recessed areas create a repeatable texture for posters, book covers, and wrapping paper. Because the plate is temporary, experiment freely with geometry, grids, and hand-drawn marks.
Give Fabric Scraps New Jobs
Fabric offcuts are valuable because they combine flexibility with strength. Sort them by fiber content and weight if you can. Woven cotton cuts are easy to press and sew; stretchy knits behave differently and may curl at the edges. Small pieces can be joined into larger sheets through simple patchwork, but they can also serve as components without becoming a quilt.
Use narrow strips as ties for cables, bundles, or plant supports. Fold a strip in thirds and stitch along the length to create sturdy cord. Layer scraps between sheets of water-soluble stabilizer and stitch across the surface to make a new fabric, useful for bowls, pouches, or book covers. Without specialized stabilizer, overlap strips onto a temporary paper backing, stitch them together, and carefully remove the paper afterward.
For no-sew projects, cut fabric into long strips and braid or twist them into mats, baskets, or handles. Test the finished piece under realistic loads. A braided rug made from lightweight cotton will behave differently from one made from thick upholstery remnants, so match the technique to the material.
Look at Found Objects With Fresh Eyes
Found materials bring irregularity and character to a project, but they also require judgment. Inspect edges, surfaces, and stability before use. Wash rigid items with mild soap, dry them completely, and remove labels or adhesive residue. Avoid materials that are sharp, brittle, chemically treated, or difficult to clean.
Jars and tins become storage vessels when paired with paper covers or fabric sleeves. Cork can be sliced into stamps or assembled into a small notice board. Bottle caps can be sorted by color and arranged as mosaic-like surfaces, though they are better suited to decorative panels than floors or wet areas. Natural materials such as seed pods and leaves work beautifully for temporary arrangements, but they may dry, fade, or attract insects over time.
Questions to Ask Before Assembly
- Will the object be lifted, pressed, washed, or exposed to moisture?
- Can each part be removed or replaced when it wears out?
- Does the design depend on glue alone, or is there a mechanical connection?
- Will the finished piece be difficult to recycle at the end of its life?
Choose Low-Impact Assembly Methods
Fast, reversible connections make repair and future reuse easier. Thread, staples, paper tabs, and interlocking folds can often replace large amounts of adhesive. When glue is necessary, use the smallest amount that creates a reliable bond and allow it to cure fully before loading the object. Water-based white glue suits porous materials; stronger adhesives should be selected according to the specific surfaces and used with proper ventilation.
Design for disassembly where possible. Attach a fabric cover with ties instead of permanently gluing it. Make cardboard compartments adjustable with slots rather than fixed joints. These choices extend the life of the object and let components return to the material stream when they are no longer needed.
Three Approachable Starter Projects
Modular Desk Tray
Cut corrugated cardboard into a base, four walls, and removable dividers. Join the walls with paper tabs, reinforce the base corners, and cover the exposed edges with folded strips of fabric. Adjust the dividers to hold pens, cables, or sketchbooks.
Scrap-Fabric Cord Wrap
Cut a firm cardboard core from a box, then wrap it with overlapping fabric strips. Secure the first and last layers with a few stitches or small tabs. The finished wrap keeps charging cables tidy and can be re-covered when the fabric wears.
Found-Object Shadow Board
Mount a flat cardboard or reclaimed wood panel on a wall. Add loops, hooks, or tied fabric strips to hold lightweight tools such as scissors, rulers, and brushes. Keep the arrangement open so items can be rearranged as your practice changes.
Build a Reuse Habit
Keep a small project box rather than a large stash. Add only materials that match current ideas, and review the box each month. Finish one reuse project before starting three more. Document what worked, what failed, and which connections proved durable. Over time, these notes become a personal material library, turning everyday leftovers into a reliable source for calm, low-cost, eco-friendly making.